Small Pantry Organization: The Four Zones That Hold
Small pantry organization means grouping your food by how you cook, then placing the groups by how often you reach for them.
The daily group at eye level, the weekly group on the shelf just below it, and bulk split by weight: heavy at or below waist height, light bulky things above eye level. And here is the part worth hearing first. This is a layout problem, not a discipline problem. When the shelf you reach without thinking is holding things you hardly ever reach for, the things you use every day have nowhere obvious to land.
- Eye levelThe daily group, and nothing else on that shelf
- Just belowThe weekly group. One glance down, still no stretching
- Above eyeLight and bulky only. Cereal boxes, paper goods, chips
- Waist and belowHeavy and bulk. Nothing heavy goes above shoulder height
What is within a child’s reach. The lowest shelves are within reach of any child who comes into the room, planned or not. Keep anything you would not want opened or tasted off those shelves, and keep cleaning products out of a food pantry entirely. When something is both heavy and something you would not want opened or tasted, put it behind a latch rather than up high: a latched cabinet at or below waist height, never above shoulder height, and you carry it with both hands. A base cabinet is within reach too, so anything you would not want opened or tasted, cleaning products included, comes up out of a base cabinet before food goes in.
How you lift and how you reach. Heavy goes low. A bag of flour or a case of cans belongs at or below waist height, where you lift from your knees without reaching above shoulder height. Nothing heavy goes above shoulder height anywhere in this article. Use a step stool for anything above eye level, and never climb on a shelf or a chair.
Measure the gap before you buy a single container. The free Pantry Fit Planner starts at page 2 with the figure this article turns on: the gap between two shelves, taken from the top face of one to the underside of the next. Four steps, five pages, filled in standing at the pantry. Send it to me
The four zones that make small pantry organization hold
Eye level
That one is the shelf that earns its keep, and the first thing to check is whether it is holding something you reach for a couple of times a season at most, like the slow cooker. Give it to the group you reach for daily. Everything on that shelf should be something somebody in the house touches most days. The zones are the point, not the containers.
Measure three things before you order anything
Write them down rather than trusting your memory at the store. Buy for the gap you have rather than the pantry you want. Adjustable shelves move, fixed shelves do not, and your pantry may have both.
Step 1
The depth of the shelf
From the front edge to the back wall. Then take a second figure while you are there: how far in you can actually see, which is not the same number.
Step 2
The height of the gap above it
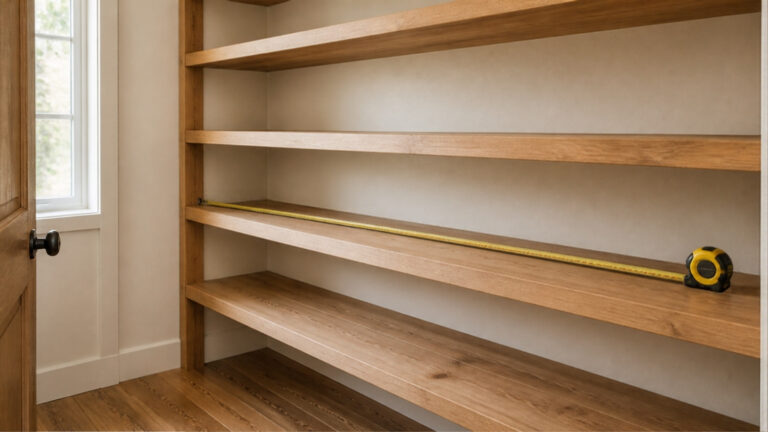
Top face of that shelf to the underside of the next. This is the measurement that is easiest to forget and the one that sends a bin back to the store. Shelf spacing is not necessarily the same from the top of a pantry to the bottom, so measure each gap you are buying for rather than measuring one and assuming the rest.
Step 3
The width of the opening
The doorway or the opening you have to carry the bin through. A bin that fits the shelf and not the opening is a bin that goes back. Take your three numbers with you and check each one against the product page before you order.
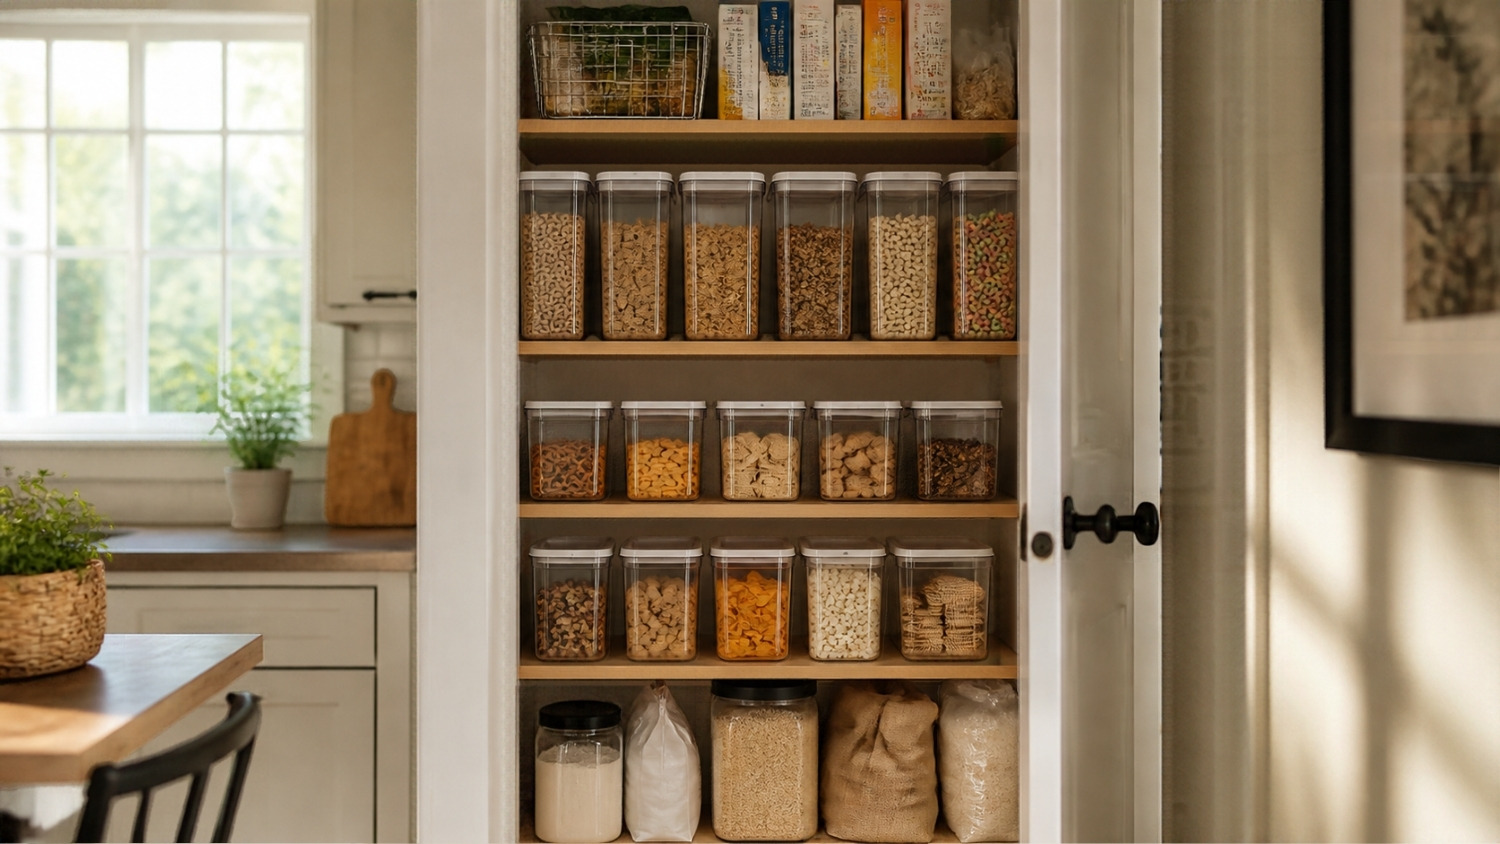
Take your numbers to the store. Page 3 of the Pantry Fit Planner is the one for a deep shelf: how far in you can actually see, which is not the same number as how deep it is. Write both down and shop from them instead of guessing in the aisle. Get the free planner
Empty it first, onto the counterall of it, and the three kinds of thing you will find
Matching jars are where the pantry photographs start, and if you have ever bought a set and watched the room look the same again by the next grocery run, you already know how that ends. Buying containers is the step to take last, once you know which gaps are left. What actually holds is deciding what has earned the shelf you can reach without thinking.
So empty it. Not one shelf at a time, tempting as that is. All of it, onto the counter or the kitchen table, because you cannot see what you own while it is sitting in rows behind other rows.
You will probably find three kinds of things, and the third one is the one worth slowing down for. Food you use every week. Food you bought for one recipe. And food you forgot you had, and the row in front is what hid it.
Keep anything that goes back in grouped by how you cook, not by what it is. Baking together. Breakfast together. The things that go in a lunch box together. A category that matches your week beats a category that matches a grocery aisle, because you reach for a meal, not for an ingredient class.
Dates and freshness are a question for the package, not for me. What belongs here is the decision: anything that is not going back on a shelf leaves the counter now, so you are not sorting it twice.
The four zones, laid outwhat lives where, and why each one works
Stand in front of the open pantry and notice which shelf you see first without moving your head. Give it to the group you reach for daily: breakfast, coffee and tea, the lunch box things, whatever your mornings actually need. The shelf below it takes the weekly group: baking, pasta and rice, the cans you cook from on a weeknight. The shelf above and the lowest shelf take what is left. Light and bulky goes high. Heavy goes low.
| Zone | What lives there | Why it works |
|---|---|---|
| Eye level | The daily group: breakfast, coffee, lunch box | You reach it without looking, so it goes back without thinking |
| Just below | The weekly group: baking, pasta, cans you cook from | One glance down, still no stretching |
| Above eye level | Light and bulky: cereal boxes, paper goods, chips | Nothing heavy goes above shoulder height |
| Waist height and below | Heavy and bulk: flour, sugar, cases of canned food | You lift from your knees, never above shoulder height |
The zones are the point, not the containers. A pantry with four honest zones and mismatched packaging works better than a pantry of matching jars with no zones at all.
When you do not have a pantry, only cabinetsthe zones get smaller and the sorting matters more
Most of this still applies, with less room to do it in. The zones get smaller and the sorting matters more.
Pick one cabinet and make it the food cabinet, even if it is not the obvious one. A cabinet beside the fridge or over the counter beats a cabinet across the kitchen, because the shorter the trip, the easier it is to put things back.
A base cabinet is within reach of any child who comes into the room. Anything you would not want opened or tasted, cleaning products included, comes up out of a base cabinet before food goes in.
Inside it, the same order holds. The shelf you see first takes the daily group. Anything bulky moves out of that cabinet entirely, to a hall closet, a laundry room shelf, a low cabinet elsewhere, whichever of those you actually have. Keep the heavy part of it low. Heavy things go at or below waist height in whatever space you give them, not on top of anything. Nothing heavy goes above shoulder height. Kitchen cabinet space is contested, and bulk buying is the first thing that should lose that argument.
If a cabinet shelf is deep, the one row rule matters more there than it does in a pantry, because a cabinet door hides the whole shelf rather than just the back of it. One row at the front, and a pull-out bin behind it.
The deep shelf problem, and the one row rulethe back of the shelf has to come to you
A deep shelf is where food goes to be forgotten, and it is not your fault that it does. You put a second row behind the first, the first row hides it, and what is behind it stops counting when you write the grocery list.
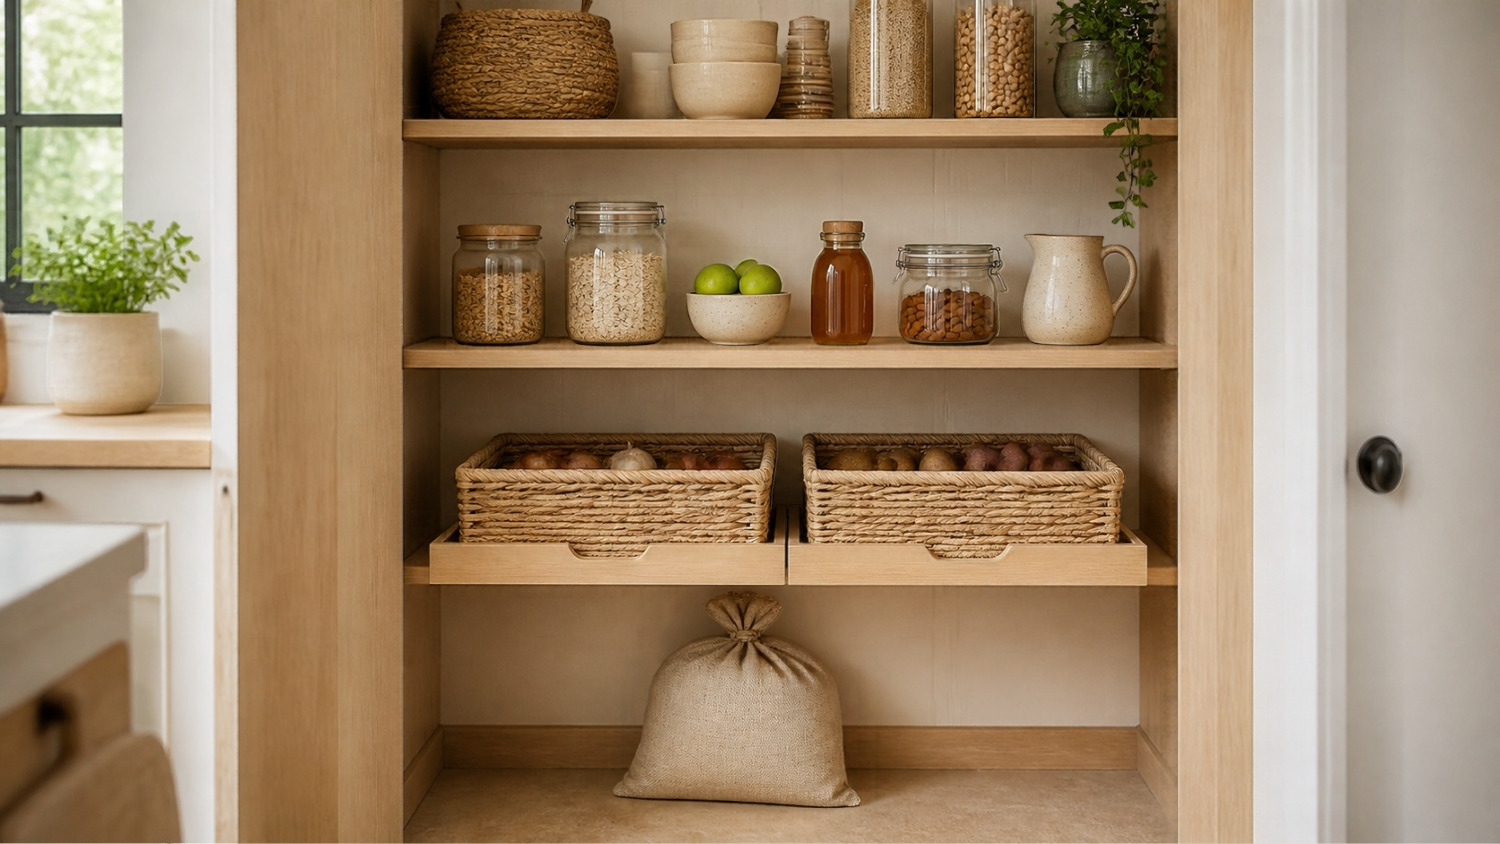
One row at the front, and whatever goes behind it goes in something you can pull out. A bin, a basket, a tray, anything with a front you can grip. The rule is not that the back of the shelf is wasted, it is that the back of the shelf has to come to you rather than you reaching into it.
Low and open beats tall and lidded for anything you open daily. A lid that needs a second hand is one more step between you and putting the thing back, and a container you cannot see into is one you can end up buying a duplicate of.
When you do put something in a bin, label the bin rather than the food. The bin stays, the food inside it changes, and a label on the bin survives the grocery run.
Buy last, and buy for the problemfour pairings that cover most of it
Here is the order that saves you money, and it is the opposite of what the photographs suggest. Sort, zone, live with it until the next grocery run, and only then buy containers for the gaps that still annoy you.
And when you do buy, buy for the problem rather than for the look. Four pairings that cover most of what a pantry throws at you:
- A deep shelf wants a bin with a handle or a front lip you can grip, so the back of the shelf comes out to you.
- The daily group wants something low and open, no lid to lift, so putting things back costs you nothing.
- Cans want a tiered shelf, the one exception to the one row rule: the rows behind the front one sit higher, so you can read every label without pulling anything out.
- Tall boxes and bags want a narrow upright bin, so they stand instead of slumping over each other.
Frequently asked questionssix, including what to measure before you buy
How do I organize a pantry that keeps getting messy?
Group by how you cook rather than by food type, then give the shelf at eye level to the group you reach for daily and nothing else, put the weekly group just below it, and split bulk by weight, heavy bulk at or below waist height, light bulky things above eye level, nothing heavy above shoulder height. When the easiest shelf is holding slow-moving things, the fast-moving things have nowhere obvious to land, and that is the first thing I would check. Keep one row at the front of a deep shelf, and put anything behind that row in a pull-out bin.
What should go on the top shelf of a pantry?
Light and bulky things: cereal boxes, paper goods, chips, anything you can lift down with one hand without bracing yourself. Nothing heavy goes above shoulder height, and nothing you need every morning goes up there either, because a shelf you have to stretch for is the one that stops getting used. Use a step stool, and never climb on a shelf or a chair.
Where do I put bulk food?
Low, at or below waist height, where you lift from your knees. Nothing heavy goes above shoulder height. Bulk is heavy and it moves slowly, so it has no business on the shelf you reach for every day. If the bulk is what is crowding your pantry, that is the group to move out of the room first, if you have anywhere else to put it.
Do I need matching containers?
No. And buying them before you sort is the part I would skip. Containers help where you are decanting something you open daily or taming a deep shelf, and they do nothing for a shelf that is holding the wrong group. Sort and zone first, live with it until the next grocery run, then buy for the gaps that still annoy you.
How do I stop losing food at the back of a deep shelf?
Keep one row at the front and put everything behind it in something you can pull out by a handle or a front edge. The point is that the back of the shelf comes to you. Label the bin rather than the food, because the bin stays while what is inside it changes from one grocery run to the next.
What should I measure before buying pantry storage?
Three things, written down rather than remembered: the depth of the shelf from the front edge to the back wall, the height of the gap above that shelf, and the width of the opening you have to carry the bin through. The gap between shelves is the easiest one to forget, and it is not necessarily the same from the top of a pantry to the bottom, so measure each gap you are buying for.
If the shelves themselves are the problem rather than what is on them, start with custom pantry shelving. More room-by-room fixes are in our bathroom storage guide.
Four steps, five printable pages
The free Pantry Fit Planner starts at page 2 with the gap between two shelves, and page 3 is the one for a deep shelf. Fill it in standing at the pantry, then shop from your own numbers.
Saved in this browser, on this device. No account, nothing sent to us, and it goes if you clear your browsing data. See what you saved