How to Measure a Closet, Step by Step
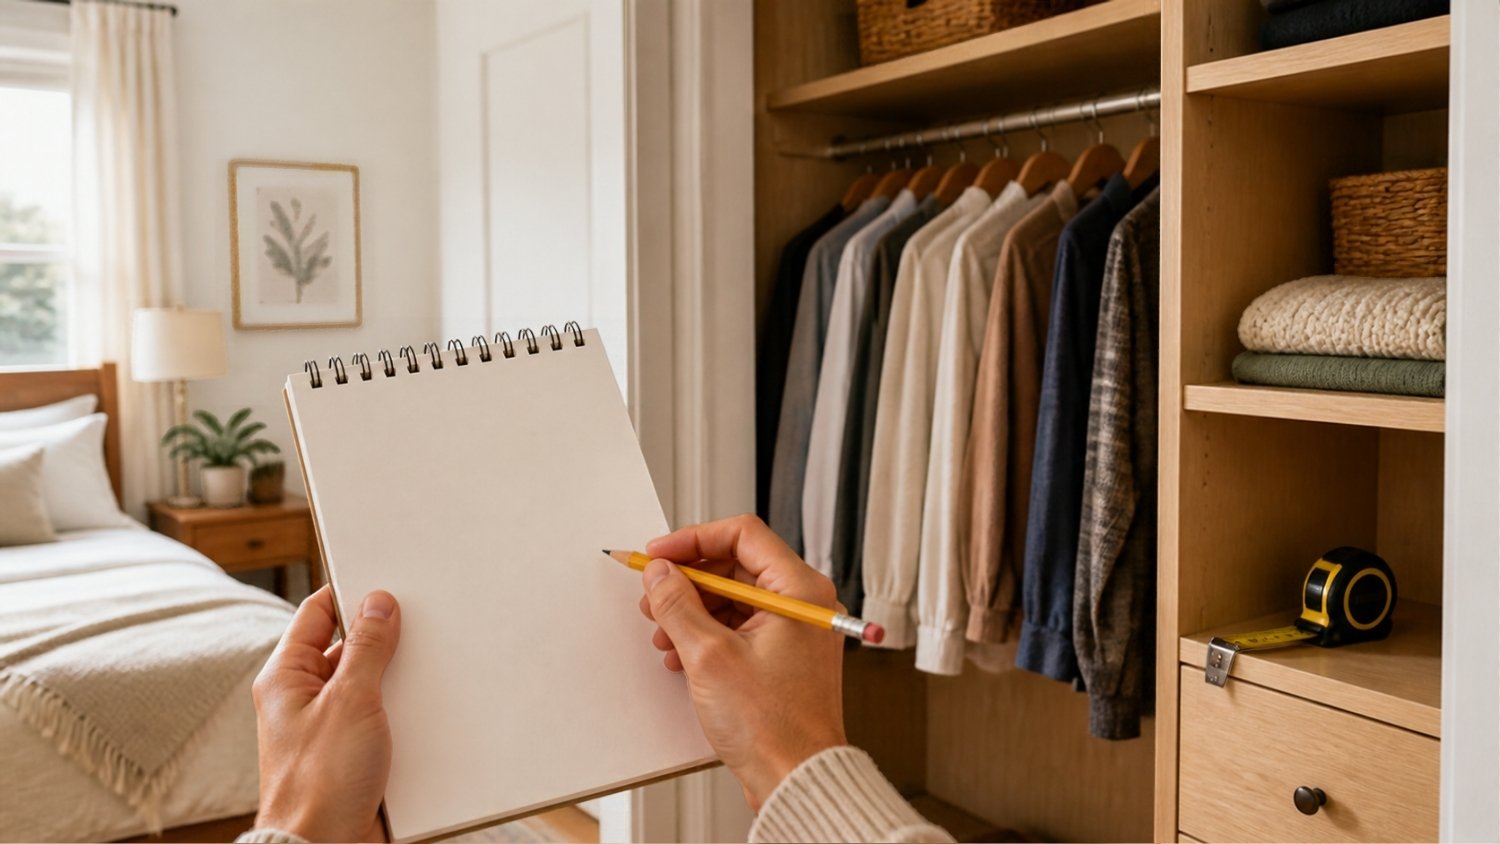
How to measure a closet comes down to six measurements and one list, taken in order, with every number written down as you go.
Two rules matter more than the rest. Measure the width three times, at floor level, hip height and as high as you can reach, and keep the smallest. And stop the tape at the inside face of the door frame, the surface the door closes against, not at the front of the trim.
- 3 timesThe width is taken three times, and you keep the smallest
- 2 depthsOne above the baseboard, one at the floor. They differ
- OpenThe door is measured open, never closed
- 1 listShelf, rod, light, switch, outlet, vent, and a count of your clothes
Take the sheet with you. The free Closet Layout Planner has this measuring sheet ready to print, with a line for every number below, the standard closet dimensions on one page, three layouts that work, and a shopping checklist. Send it to me
How to measure a closet depth, twice
2 depths
The baseboard on the back wall takes depth along the bottom, so the floor of the closet is shallower than the middle. One number is for a shelf, the other is for anything standing on the floor, and ordering from the wrong one is how a drawer unit arrives that will not sit flat.
The six measurements, in order
Step 1
The door opening
Measure between the inside edges of the frame, at three heights, and write down the smallest. Then measure the height of the opening, from the floor to the underside of the header above it, and write it next to the width. Everything you buy has to pass through here, and the open door, its hinge and its stop take a little more, so leave yourself room.
Step 2
The width inside
Wall to wall inside the closet, three times: down at floor level, at hip height, and as high as you can reach comfortably. Write all three down, then ring the smallest. That is the one to use for anything rigid.
Step 3
The depth
Put the tape flat against the back wall and run it forward. Stop at the inside face of the door frame. Write it down. If your closet has sliding doors, take the depth behind a panel as well and use the smaller of the two.
Step 4
The depth at the floor
Start at the front face of the baseboard on the back wall, not at the wall itself, and run the tape forward to the same point as before. Write it beside the first depth. This is the one to use for anything that sits on the floor.
Step 5
The height
Floor to ceiling, once at the back of the closet and once at the front. Write both down and ring the smaller. Anything full height has to clear that one.
Step 6
The open door
Open it fully. Measure how far the door reaches into the room, and how much clear floor is left in front of the closet. Write both down. Bifolds and sliders need a second reading each, and the accordion below has both.
Will it fit? Enter the depth you just measured and the depth the listing publishes, and the tool tells you whether it goes in, or that it cannot tell you yet. Try it
The measuring sheet, as a tablewhere to put the tape, and what to write down, for each
What you need: a metal tape measure, not a fabric one. Paper and a pencil, because you need both hands for the tape. And an empty closet, with the hanging clothes pushed hard to one side and the floor clear.
| # | What to measure | Where to put the tape | What to write down |
|---|---|---|---|
| 1 | Door opening, width and height | Inside edge of the frame to the inside edge, taken at three heights. Then floor to the underside of the header above the opening | The smallest width, and the height |
| 2 | Width inside | Side wall to side wall, at floor level, at hip height, and as high as you can reach | All three, then ring the smallest |
| 3 | Depth | Flat against the back wall, forward to the inside face of the door frame | One number |
| 4 | Depth at the floor | Against the front face of the baseboard on the back wall, forward to that same point | One number, beside the first |
| 5 | Height | Floor to ceiling, once at the back and once at the front | Both, then ring the smaller |
| 6 | The open door | How far the door reaches into the room when fully open, and the clear floor in front of the closet. Sliding and folding doors are different, see below | Both |
| L | The list | No tape needed | Shelf and rod heights off the floor and whether they sit on brackets or are built in, the light, the switch, any outlet, any vent, the baseboard, and a count of your clothes by type |
Step 6 in full: bifolds and sliderseach needs a second reading, for a different reason
A bifold folds back against the sides of the opening, and the folded panels take some of the clear width with them. Measure the opening a second time with the door fully open, from folded panel to folded panel, and write that beside your first opening width. If the panels also stand out from the wall, measure to their face for the first number above.
A slider does not swing. Measure how far it stands out from the wall, which on many of them is nothing at all. Then slide one panel fully aside and measure the clear opening it leaves, from the edge of that panel to the far side of the frame. Write both.
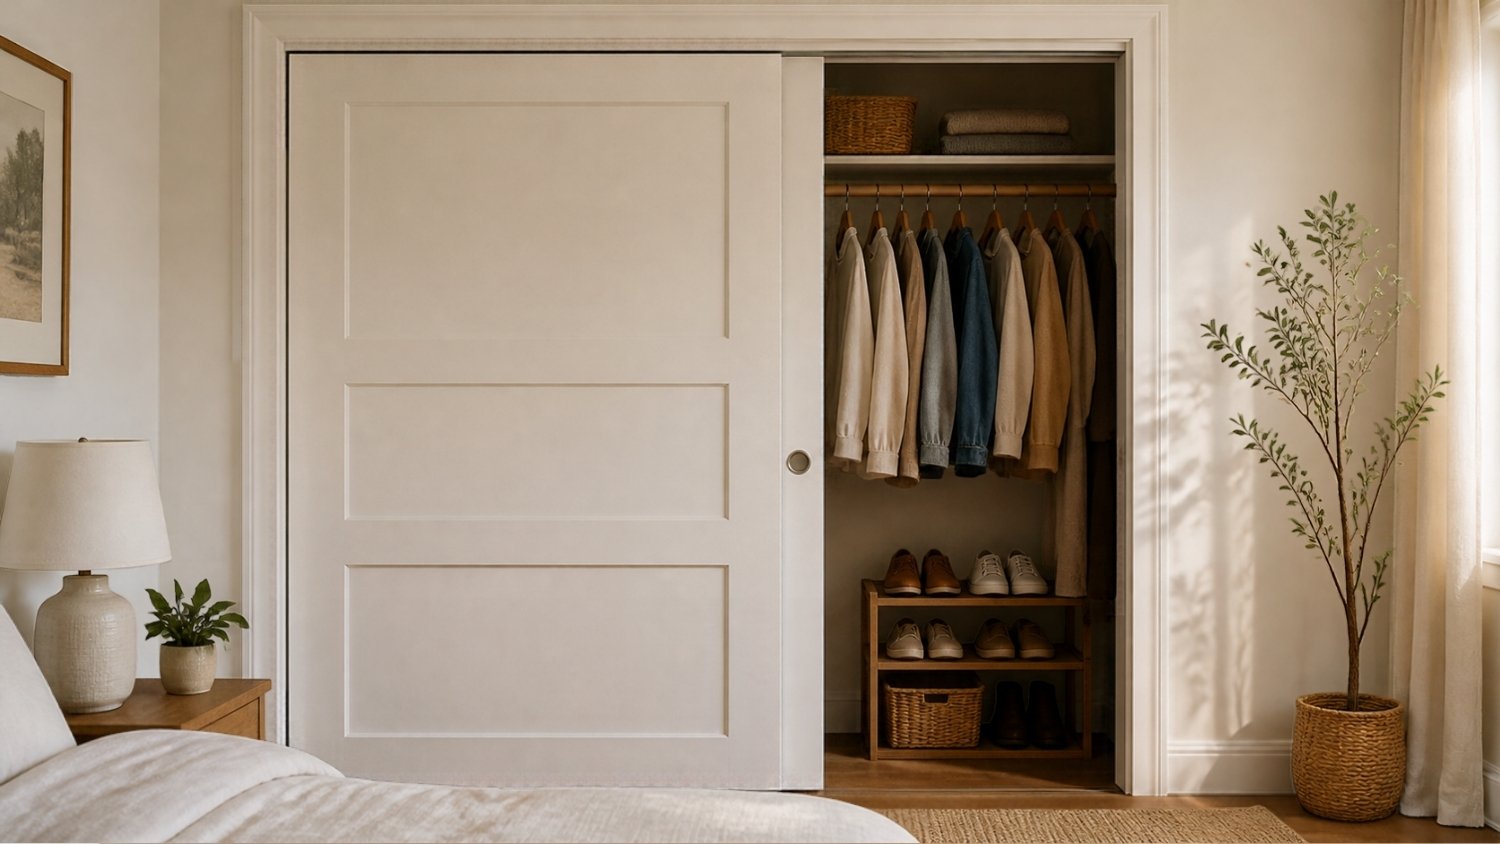
The list, which needs no tapewhat is already on the walls, and what has to go back in
Write down the height off the floor of the existing shelf and rod, and whether they sit on brackets or are built in.
Then note the light, the switch, any outlet, any vent, and the baseboard.
Last, count what has to live in this closet: hanging pieces by type, folded items, and what sits on the floor. A coat and a shirt do not take the same room on the rod.
Four mistakes that send organizers back to the shopand which step fixes each one
- Measuring the door opening instead of the inside. You need both. Steps 1 and 2.
- Measuring the width once. Step 2 takes three readings and keeps the smallest.
- Skipping the depth at the floor. The baseboard takes depth along the bottom. Step 4.
- Measuring the door closed. Step 6 measures it open.
What to do with your numberswhich guide to check each one against
Compare them against the figures the makers publish before you shop. Our guide to closet layout dimensions has the rod heights, the shelf depths and how much rod space each kind of garment needs. For the whole published set on a reach-in specifically, with the source named next to each figure, see reach-in closet dimensions.
Then take them one at a time: closet rod height for where the rod goes, standard closet shelf height for the shelf above it, and closet shelf depth for how deep the board needs to be.
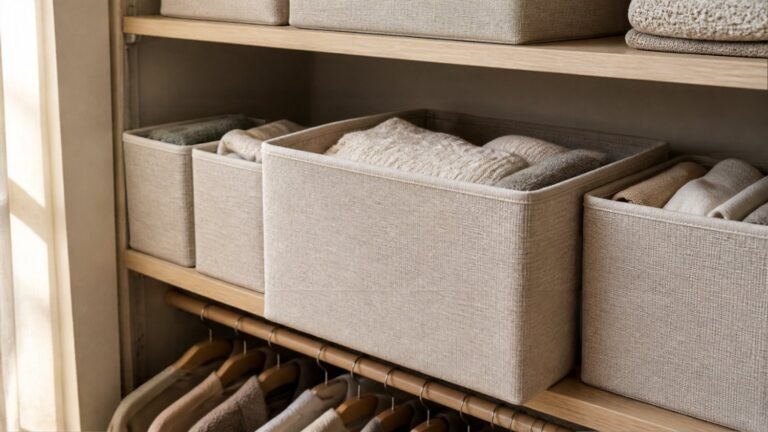
If the closet is narrow, planning a narrow reach-in covers what fits and in what order. For bins, which sizes actually fit explains why the cube in the photo will not sit on your shelf.
Questions people ask5 questions
Should I measure in inches or centimeters?
Use whichever unit the shops you buy from use. Converting in the aisle is how mistakes happen. In the United States, work in inches.
Do I measure with the clothes still in the closet?
No. Push them hard to one side or take them out, and clear the floor.
What if the walls are not straight?
That is common, and it is why Step 2 takes three readings. Use the smallest for anything rigid, like a shelf or a built in unit. Fabric bins forgive a little.
Why measure the depth twice?
Because the baseboard on the back wall takes depth along the bottom, so the floor of the closet is shallower than the middle. Step 3 is for a shelf, Step 4 is for anything standing on the floor.
Do I need to measure if I am only buying baskets?
Yes. The size on a listing is usually the outside of the basket. The number you took is the space it has to sit in. Those are two different things.
Print the sheet instead of using a scrap of paper
Five printable pages: the measuring sheet with a line for every number above, the standard dimensions, three layouts and a shopping checklist.
More closet fixes, one problem at a time, in our closet organization guide.
Saved in this browser, on this device. No account, nothing sent to us, and it goes if you clear your browsing data. See what you saved